|
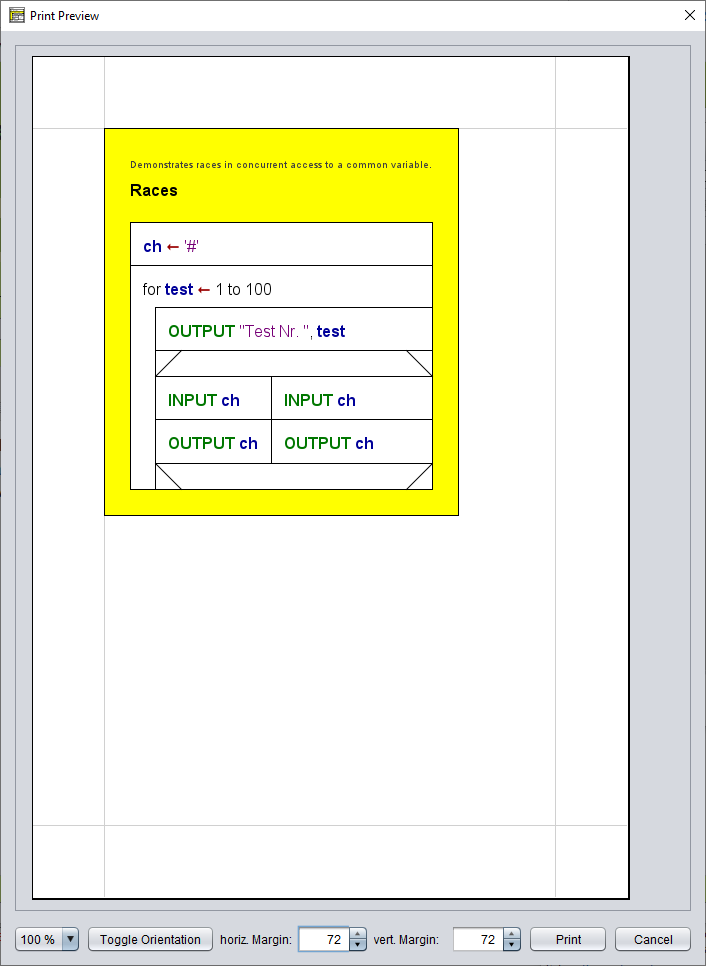
Toolbar button  or menu item "File › Print" may be used to print the diagram to some installed printer. Key binding <Ctrl><P> has the same effect. First a very simple "Print Preview" will open, showing the diagram embedded in a page of the standard printer format (usually DIN A 4 portrait by default): or menu item "File › Print" may be used to print the diagram to some installed printer. Key binding <Ctrl><P> has the same effect. First a very simple "Print Preview" will open, showing the diagram embedded in a page of the standard printer format (usually DIN A 4 portrait by default):

Note that e.g. element selection highlighting is reflected in the print preview and the resulting print.
Gray lines symbolize the page margins in the preview (they will not of course occur in the print result). The widths of the horizontal (left / right) and vertical (top / bottom) margins in pixel units are displayed at the bottom bar and may be adjusted via the respective spinner fields. The effect will immediately be shown in the preview. The margin width is limited to 72 pixels at maximum.
You may modify the zoom of the preview via the leftmost control in the bottom bar but this does not modify the size of the diagram with respect to the page size. If you want to enlarge the diagram for printing, you can achieve this by modifying the font size in the work area before.
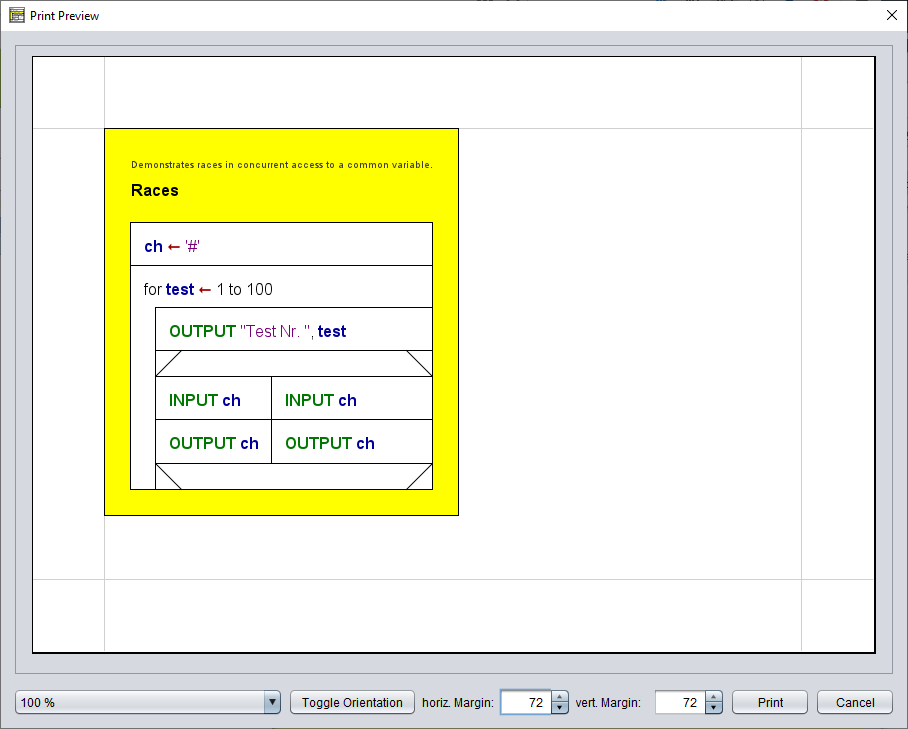
Via the "Toggle Orientation" button you may alter the page orientation from portrait to landscape or vice versa:

The diagram will automatically be downscaled to fit between the page margins if necessary.
The preview does not take into consideration a specific printer configuration as the choice of the actual printer is only offered after having pressed the "Print" button in the preview dialog. Depending on the capabilities of the printer driver, you may possibly have an opportunity to scale the print to the actually chosen paper format then.
It may make more sense to export the diagram as picture of a suited file format and print the resulting graphics file via some standard image viewer, though. This will give you more flexibility. |

